



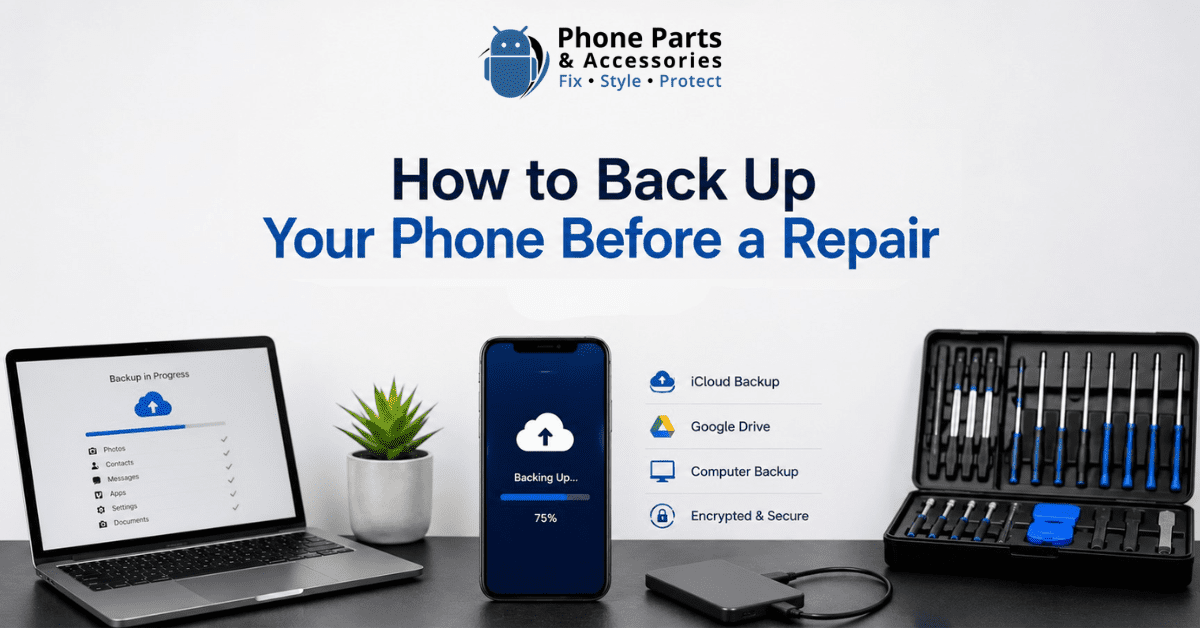
Sending your phone off for repair, even for something as routine as a screen replacement, can bring on a quiet kind of worry. Your photos, conversations and years of saved information all live on that one device, and handing it over naturally raises the question: what if something goes wrong?
The good news is that this risk is easy to manage. A proper backup, done before your appointment, means your data stays safe no matter what the repair involves. It takes less than half an hour and turns an anxious drop-off into a straightforward one. Here is exactly how to do it, for both iPhone and Android.
It is reasonable to assume that a simple hardware fix, like a cracked screen, will not affect the data stored on your phone. Most of the time, that is true. However, repairs do not always go exactly to plan. A battery replacement can sometimes uncover a separate issue. A screen swap may require a software recalibration that triggers a reset. On iPhones in particular, Apple's security protections can occasionally flag a repair and require a full restore before the device will unlock again.
Because of this, most reputable repair providers, including our team at Phone Parts NZ, will ask customers to back up their device beforehand. This procedure exists to protect the things that matter most to you: your photos, your messages and information that often cannot be recreated.
There is a practical benefit too. A completed backup allows your technician to work efficiently. If a reset becomes necessary partway through a repair, there is no delay while you search for passwords or worry about lost photos at the counter.
If you are ready, you can book your repair online at Phone Parts NZ or visit us at Unit 3, 24 Leven Street, Invercargill.

Apple offers two reliable methods: a wireless backup through iCloud, or a local backup using a computer. Both are effective, so choose whichever suits your situation.
This is the simplest option for most people, as it works over Wi-Fi without any cables.
Before you begin, it is worth checking your storage. The free iCloud plan includes only 5GB, which is rarely enough if you have a few years of photos saved. If you are prompted to upgrade, a temporary increase to 50GB costs around $1.49 per month, a small price for the certainty of a complete backup.
A local backup tends to be faster than a cloud sync and has no storage limit, which makes it a good option if you have a large photo or video library.
On a Mac running macOS Catalina or later, connect your iPhone with a cable, open Finder, select your device from the sidebar, and click Back Up Now. On a PC, open iTunes or the Apple Devices app, connect your phone, select the device icon, and choose Back Up Now.
While you are there, select Encrypt local backup. This option includes your saved passwords, Health app data and Wi-Fi credentials in the backup, none of which are included otherwise.
The steps vary slightly between brands, but the core process remains consistent across most Android devices.
This method works on almost every Android phone and covers the essentials.
This will save your contacts, app data, call history, SMS messages and device settings. It does not automatically include your full photo library, so it is worth checking this separately. Open Google Photos, go to your profile icon, then Photos settings, then Backup, and confirm that syncing is complete before your appointment.
If you use a Galaxy device, Smart Switch provides a more complete backup than Google Drive alone, including home screen layouts and brand-specific settings.
Download Smart Switch on a Mac or PC, connect your phone using a USB cable, select Backup, and follow the prompts. You can also back up directly to Samsung Cloud through Settings, then Accounts and Backup, then Samsung Cloud, then Back up data.
WhatsApp, Telegram and similar apps typically store conversation history separately from your phone's standard backup. For WhatsApp, go to Settings, then Chats, then Chat Backup, and run a manual backup to Google Drive or iCloud before you bring your phone in. This is one of the most common gaps people overlook, and it is an easy one to avoid.
Backing up your data is the most important task, but a few smaller steps will help your repair go more smoothly.
Please remove your SIM card and any memory card before leaving home. These contain personal information and are not required for most repairs, so it is safer to keep them with you. It is also worth removing your case and screen protector, as your technician will need full access to the device to properly diagnose and resolve the issue.
Have your passcode ready. Your technician will need it to test the phone once the repair is complete. If you would prefer not to share it, you can temporarily set your screen lock to "None" in your security settings and re-enable it once your phone is returned to you.
Turn off Find My iPhone or Find My Device before your visit. On iPhone, this is found under Settings, your name, then Find My. On Android, it is under Settings, Google, then Find My Device. Leaving these features active can prevent a factory reset if one becomes necessary, so disabling them in advance helps avoid delays.
Finally, please ensure your phone is charged to at least 50% before you arrive. Technicians often need to power the device on and off several times during diagnostics, and a low battery can slow this process down considerably.
This depends on how much data you have and which method you choose. A local backup using a cable usually takes between 10 and 20 minutes. A cloud backup through iCloud or Google Drive can take 15 to 45 minutes on a good connection, and longer if you have a large photo library or a slower network.
We recommend starting your backup the evening before your appointment. This allows enough time to address any storage limits or connectivity issues without feeling rushed on the day.
Once your backup is complete, you can bring your phone in with confidence, knowing that your photos, contacts and conversations are safely preserved elsewhere, regardless of what the repair involves.
At Phone Parts NZ, our technicians repair phones, tablets and laptops handle everything from cracked screens and battery replacements to charging ports and camera faults, with the same level of care we would want for our own devices.
You can book your repair online at Phone Parts NZ or visit us at Unit 3, 24 Leven Street, Invercargill.

Get everything you need for your phone repairs in one convenient place. Plus, take advantage of expert installation services and exclusive perks for new customers—including free shipping!

Register now to get latest updates on promotions & coupons. Don’t worry, we not spam!
By subscribing you agree to our Terms & Conditions and Privacy & Cookies Policy.


Get everything you need for your phone repairs in one convenient place. Plus, take advantage of expert installation services and exclusive perks for new customers—including free shipping!